
Raising Cabinets - Part 1

Step 1: Build a Few Boxes
The first step in my kitchen cabinet makeover was simply to build a few birch plywood boxes. My plan was to take these boxes and put them on top of the cabinets to fill in some of that empty space and also serve as extra storage later on. I simply measured the distance above the cabinets where I wanted the upper storage to be and then made different length boxes. I had no idea that my first step would be the easiest step in the whole build, but it definitely was! Maybe it was because I build a lot of cajóns (box drums) but more likely because it is simply gluing together a couple of rectangles. As you will see in the pictures below, there is nothing fancy here. All you need is some plywood, a way to break it down, and a few brad nails and wood glue!

As you can see, our cabinets were not terrible but they were very orange and they did have a lot of space above them! My thought process was that building boxes would help bridge the gap above the cabinets and serve as extra storage.

First step was simply ripping this 1/2" birch plywood sheet into pieces that were as wide as the cabinets. My goal was to make upper boxes that would sit on top of the cabinets and be flush.

Once I ripped the sheet down into multiple pieces of the same width I began cross cutting pieces to the desired "length". Shorter cuts would become the "height" of the boxes.

At this point I simply started piecing them together. Just a little glue and a couple nails to hold things together while it dried. Boom!
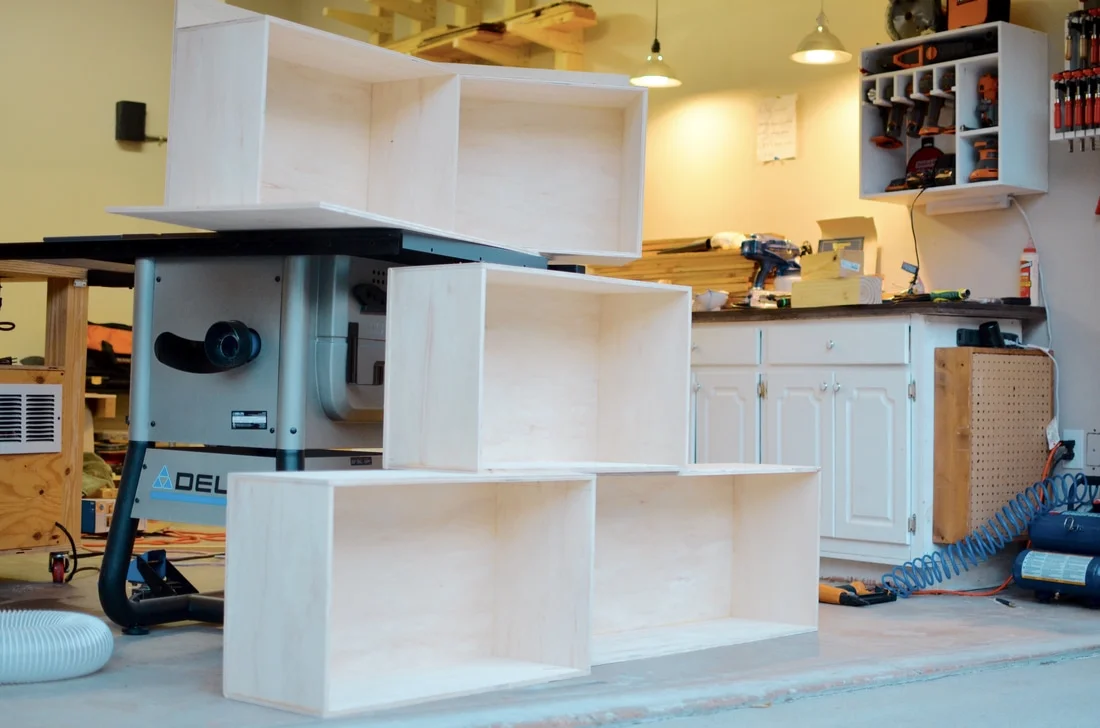
After I made all of the rectangles I attached a piece of ply to the back for extra support. I did not worry about fitting the backs on perfectly because I will never see the backs of the boxes

I then brought them inside and put them on top to test the fit and get an idea of what my next step would be. Moving on!